
| Home | Game | Rules | Theme | Strategy | FAQ |
|
|
Predict the Markets (2nd edition)
|
Peter Minuit, founder of Nova Suecia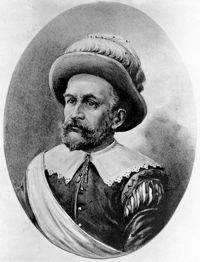
Johan Printz, governor of Nova Suecia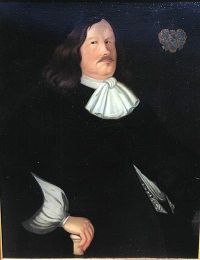
|
-->
|
||||||||
|
||||||||
|
--> |